11 August 2025
5 minutes read
What is the Biometric Fees for Canada Study Visa in India (Biometrics Canada Visa Fees for Indian Students)?
Key Takeaways
- Biometric fees for Canada study visa in India are CAD 85 per person or CAD 170 for a family applying together, paid alongside the visa application fee.
- Biometric fees for Canada study visa in India are mandatory for most international students and must be completed before the IRCC begins processing the application.
- Biometric fees for Canada study visa in India remain the same regardless of the city of application, with validity lasting up to 10 years for most applicants.
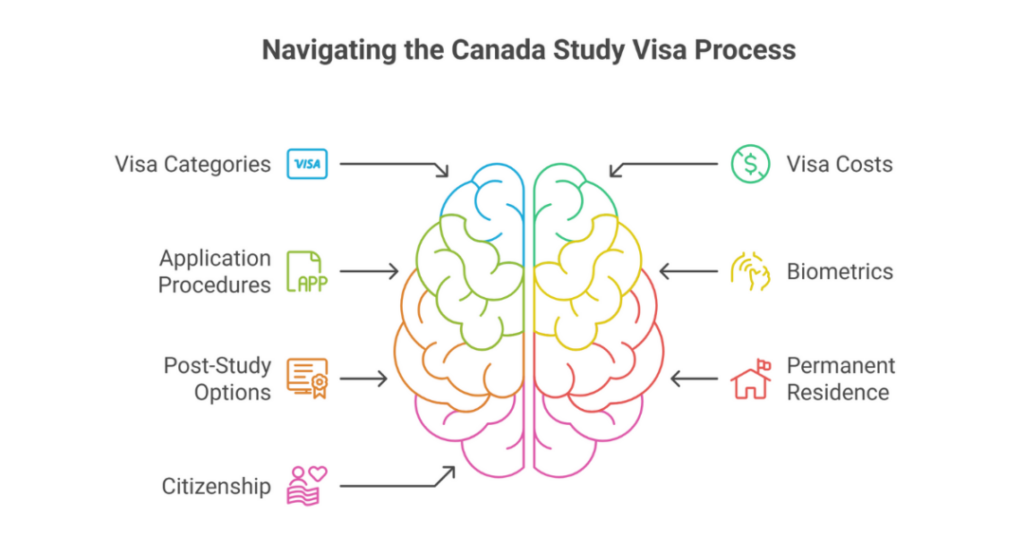
Canada continues to be a preferred destination for Indian students who aspire for quality education, international exposure, and post-study options. The process of study in Canada involves understanding different categories of visas, visa costs, application procedures, and the core requirements such as biometrics.
Many first-time applicants can be confused applicants about the Canada study visa application, visa fees, and biometrics fees in Canada study visa in India.
These details are important for international students since this is very helpful in the Canada student visa application procedures and timelines and with proper direction, Indian students can convert all their dreams into reality and ensure that their Canada visa application will run smoothly.
Whether looking to work in Canada, visit Canada on business or expecting to apply for permanent residence and ultimately Canadian citizenship, knowing the visa process and the costs associated with it is essential.
How to Apply for a Canada Student Visa from India?
Did you know Canada receives thousands of student visa applications from India every year, with most coming from students aiming for designated learning institutions (DLI)? The process to apply for a Canada student visa from India involves more than just filling in the visa application form. Understanding each step helps in avoiding delays in visa approval.
Here are the steps to apply for Canada student visa from India:
- Obtain a letter of acceptance from a designated learning institution (DLI).
- Collect all your application documents, including but not limited to transcripts, proof of GPA, IELTS/TOEFL scores, statement of purpose, resume, and letters of recommendation.
- Create an IRCC account, and online fill out the visa application form.
- Pay the student visa application fee and biometrics fee.
- Reserve an appointment to give your biometrics at a Visa Application Centre (VAC).
Table: Canada Student Visa Application Process for Indian Students
| Step | Action | Notes |
|---|---|---|
| 1 | Get acceptance from a DLI | Required before starting visa process |
| 2 | Prepare documents | SOP, transcripts, ACT/SAT/GRE/GMAT scores, IELTS/TOEFL |
| 3 | Apply online | Through IRCC portal |
| 4 | Pay application fees | Includes visa fee and biometrics fee |
| 5 | Give biometrics | Required for most applicants outside Canada |
What are Biometrics in Canadian Student Visa?
Do you know? Canada was one of the first countries to collect mandatory fingerprints for most visa types, including student visas. Biometrics is the collection of fingerprints as well as a digital photo of the applicant to verify the applicant’s identity. This gives the IRCC the benefit of being confident that the visa application is the correct individual.
Key points about biometrics for a Canada student visa:
- Fingerprints and photo are collected at a designated Visa Application Centre.
- Biometrics are valid for 10 years for most applicants.
- Biometrics must be collected before the Canada student visa application can be processed.
Table: Biometrics Overview for Canadian Student Visa Applicants
| Requirement | Details |
| What is collected | Fingerprints + digital photograph |
| Where to give | Visa Application Centre (VAC) in India |
| Validity | 10 years for most applicants |
| Processing fee | Separate biometrics fee in addition to visa application fee |
What is the Biometric Fees for Canada Study Visa in India?
Here’s an interesting fact: the biometric fee for Canadian student visa applicants is the same no matter if you submit your application from Delhi, from Mumbai, or from Chennai. This fee gets paid when you go through the process of applying for the Canada student visa.
Breakdown of biometrics fees for Indian students:
- Biometrics fee: CAD 85 per person.
- Group biometrics fee (two or more applicants applying at the same time and place): CAD 170 maximum total fee.
- Biometrics fee is separate from the Canada and US student visa fees.
Table: Biometric Fees for Canada-Student Visa in India
| Applicant Type | Biometrics Fee (CAD) | Notes |
| Individual | 85 | Per person fee |
| Family (2+) | 170 | Maximum total fee per group |
| Refugee applicants | 0 | No biometrics fee |
Visa Cost: Other Canada Visa Fees and Visa Processing Time
Do you know that the Canada visa-fees for Indians change drastically according to the type of visa? Other than the biometrics fee, applicants will pay a visa application fee, depending on the visa type: the work permit, visitor visa, or study-permit.
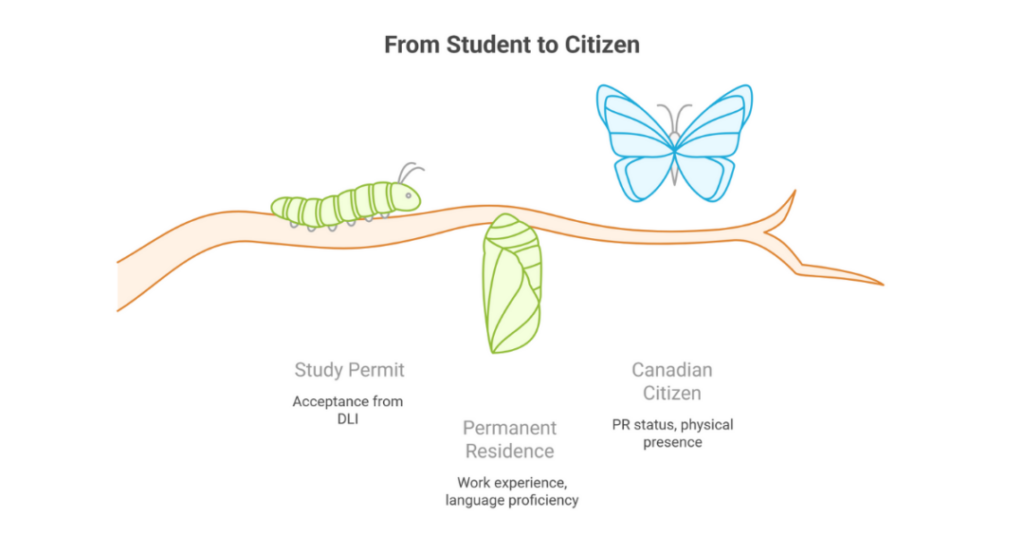
Table: Canada Visa-Fees and Processing Time
| Type of Visa | Visa Fee (CAD) | Processing Time (Approx.) |
| Study Permit | 150 | 7–9 weeks |
| Work Permit | 155 | 9–12 weeks |
| Visitor Visa (Temporary Resident Visa) | 100 | 5–7 weeks |
| Permanent Residence (Principal Applicant Processing Fee) | 850 | 6–12 months |
| Citizenship | 630 | 5–12 months |
Study Permit, Permanent Residence and Citizenship Requirements for Indian Students
Did you know that international students in Canada often convert their study permit to permanent residency, and then to citizenship? The journey begins with a Canada student visa, and can transition to permanent residency and even to Canadian citizenship!
Table: Key Requirements for Study Permit, Permanent Residence, and Citizenship
| Stage | Main Requirements | Additional Notes |
| Study Permit | Acceptance from DLI, proof of funds, tuition fee payment | Must apply before arrival |
| Permanent Residence | Work experience, language proficiency, Express Entry profile | Canada offers various immigration streams |
| Citizenship | PR status, physical presence in Canada for 3 of last 5 years | Must pass citizenship test and meet language requirements |
Conclusion
It is particularly necessary for Indian students wishing to study in Canadian universities to be informed about the process and details of a Canada visa, including visa-fees, biometrics, etc.! If you prepare ahead of time, it can make obtaining a visa easier, to transition into work, to transition again into permanent residence, and then to citizenship in Canada!
If you are looking for advice from a professional, or hoping to make studying in Canada a reality, please contact Ambitio.
FAQs
What is the biometric fees for Canada study visa in India for individual applicants?
The biometric fees for Canada study visa in India for individual applicants is CAD 85, which is paid along with the visa application fee through the IRCC portal.
Is the biometric fees for Canada study visa in India different for families?
Yes, the biometric fees for Canada study visa in India for families is capped at CAD 170 when two or more applicants apply together at the same time and location.
How do I pay the biometric fees for Canada study visa in India?
You can pay the biometric fees for Canada study visa in India online through your IRCC account when submitting the visa application form.
Do refugee applicants need to pay the biometric fees for Canada study visa in India?
No, refugee applicants are exempt from paying the biometric fees for Canada study visa in India according to IRCC regulations.
When should I pay the biometric fees for Canada study visa in India?
The biometric fees for Canada study visa in India must be paid at the time of submitting the visa application online to avoid delays in processing.
How long is the biometric fees for Canada study visa in India valid?
Once paid and completed, the biometric fees for Canada study visa in India cover biometrics that remain valid for up to 10 years for most applicants.
Where do I give my biometrics after paying the biometric fees for Canada study visa in India?
After paying the biometric fees for Canada study visa in India, you must book an appointment at a Visa Application Centre (VAC) in India to provide fingerprints and a photograph.

You can study at top universities worldwide!
Get expert tips and tricks to get into top universities with a free expert session.
Book Your Free 30-Minute Session Now! Book a call now


